AWS Certificate Manager blog
AWS Certificate Manager
Today we’re launching a new feature for AWS Certificate Manager (ACM), Private Certificate Authority (CA). This new service allows ACM to act as a private subordinate CA. Previously, if a customer wanted to use private certificates, they needed specialized infrastructure and security expertise that could be expensive to maintain and operate. ACM Private CA builds on ACM’s existing certificate capabilities to help you easily and securely manage the lifecycle of your private certificates with pay as you go pricing. This enables developers to provision certificates in just a few simple API calls while administrators have a central CA management console and fine-grained access control through granular IAM policies. ACM Private CA keys are stored securely in AWS managed hardware security modules (HSMs) that adhere to FIPS 140-2 Level 3 security standards. ACM Private CA automatically maintains certificate revocation lists (CRLs) in Amazon Simple Storage Service (S3) and lets administrators generate audit reports of certificate creation with the API or console. This service is packed full of features so let’s jump in and provision a CA.
Provisioning a Private Certificate Authority (CA)
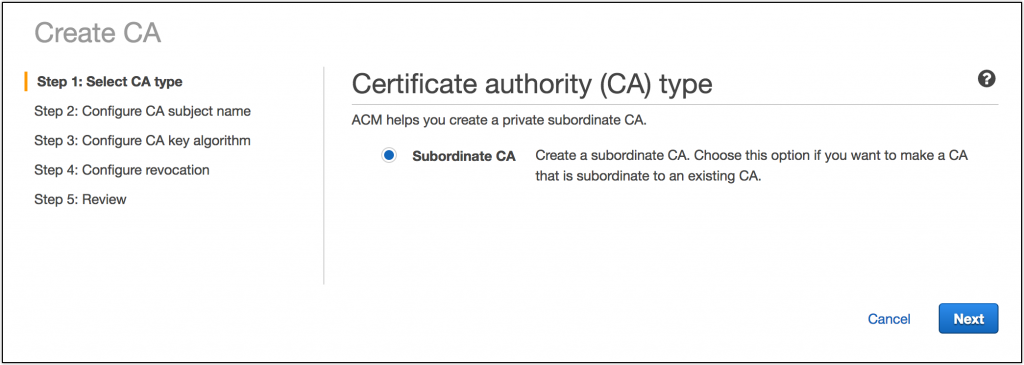
First, I’ll navigate to the ACM console in my region and select the new Private CAs section in the sidebar. From there I’ll click Get Started to start the CA wizard. For now, I only have the option to provision a subordinate CA so we’ll select that and use my super secure desktop as the root CA and click Next. This isn’t what I would do in a production setting but it will work for testing out our private CA.
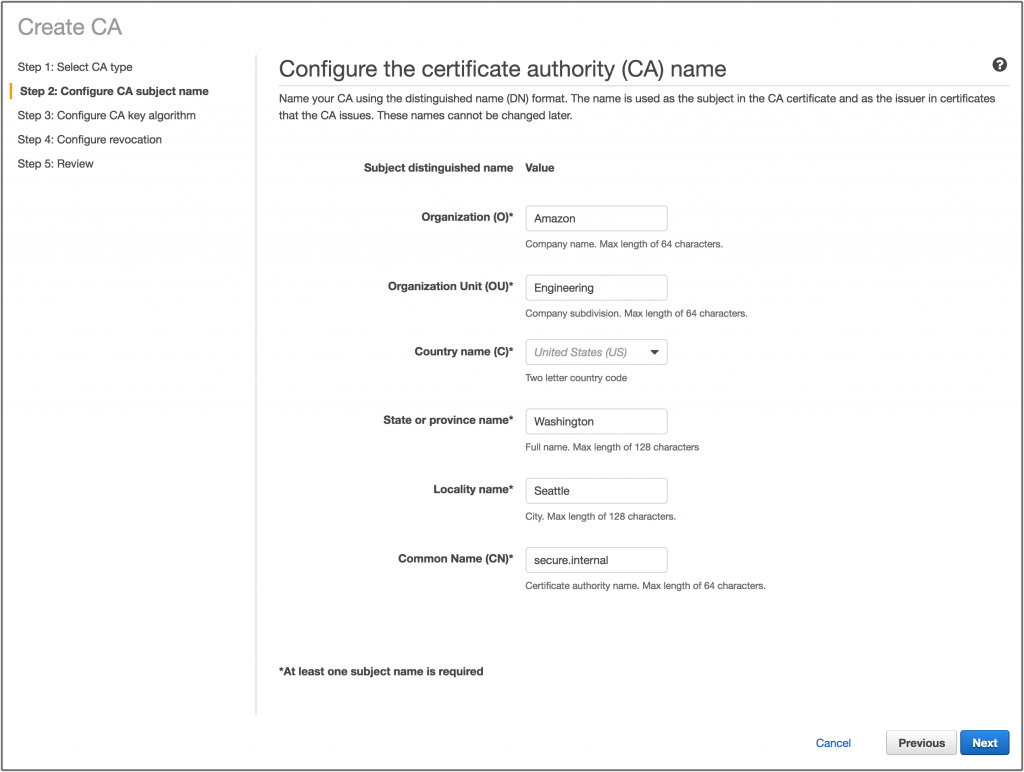
Now, I’ll configure the CA with some common details. The most important thing here is the Common Name which I’ll set as to secure. internal represent my internal domain.
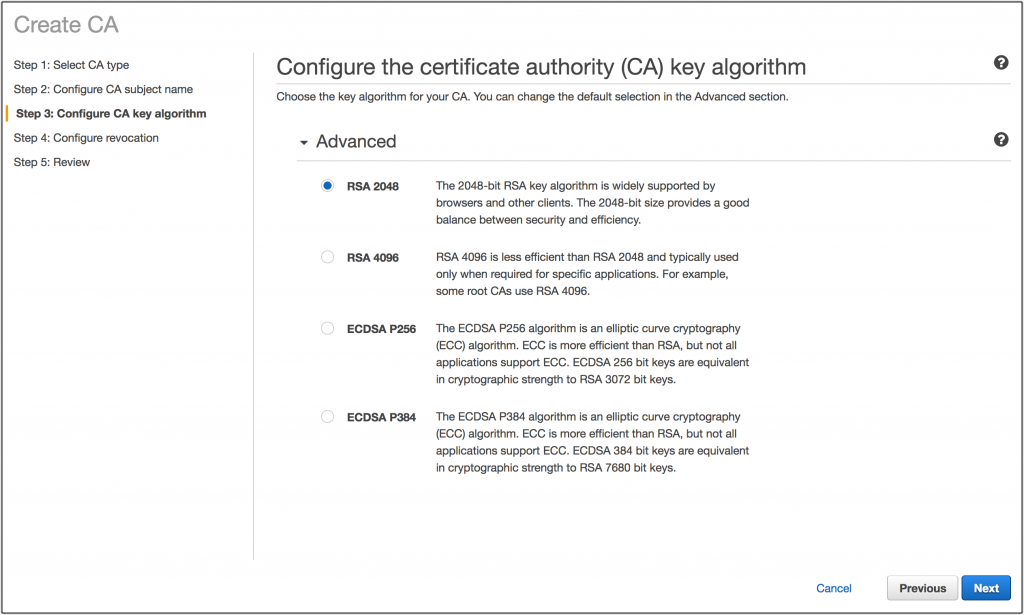
Now I need to choose my key algorithm. You should choose the best algorithm for your needs but know that ACM has a limitation today that it can only manage certificates that chain up to RSA CAs. For now, I’ll go with RSA 2048 bit and click Next.
In this next screen, I’m able to configure my certificate revocation list (CRL). CRLs are essential for notifying clients in the case that a certificate has been compromised before certificate expiration. ACM will maintain the revocation list for me and I have the option of routing my S3 bucket to a custom domain. In this case, I’ll create a new S3 bucket to store my CRL in and click Next.

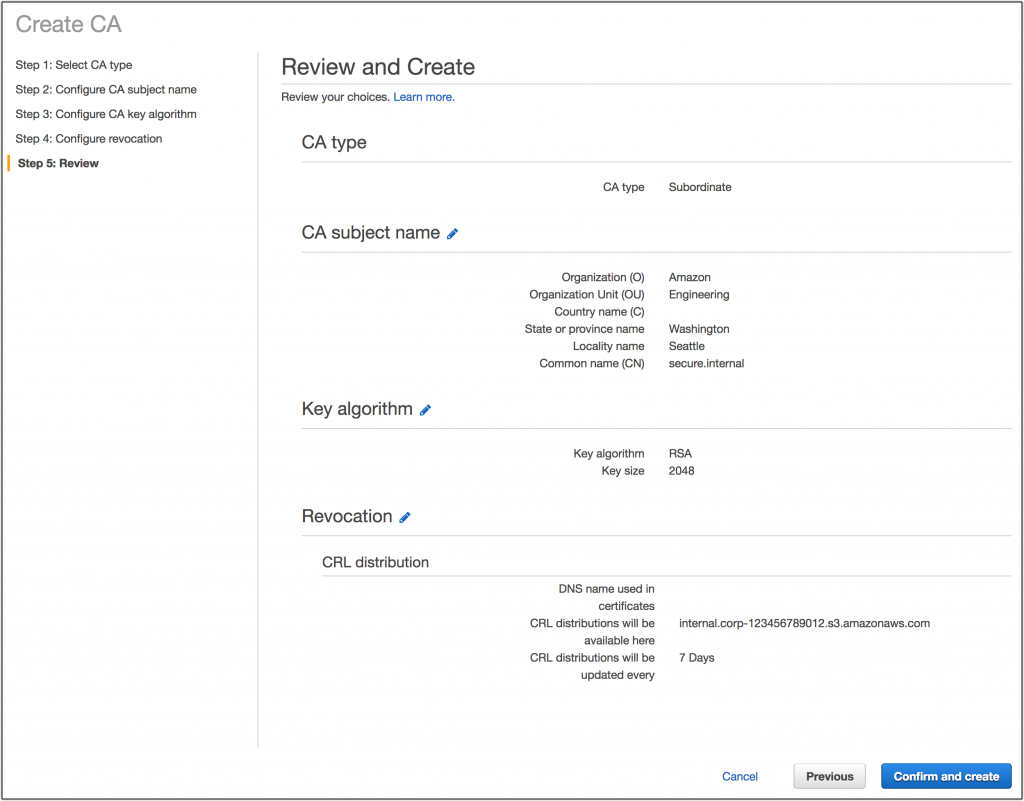
Finally, I’ll review all the details to make sure I didn’t make any typos and click Confirm and create.
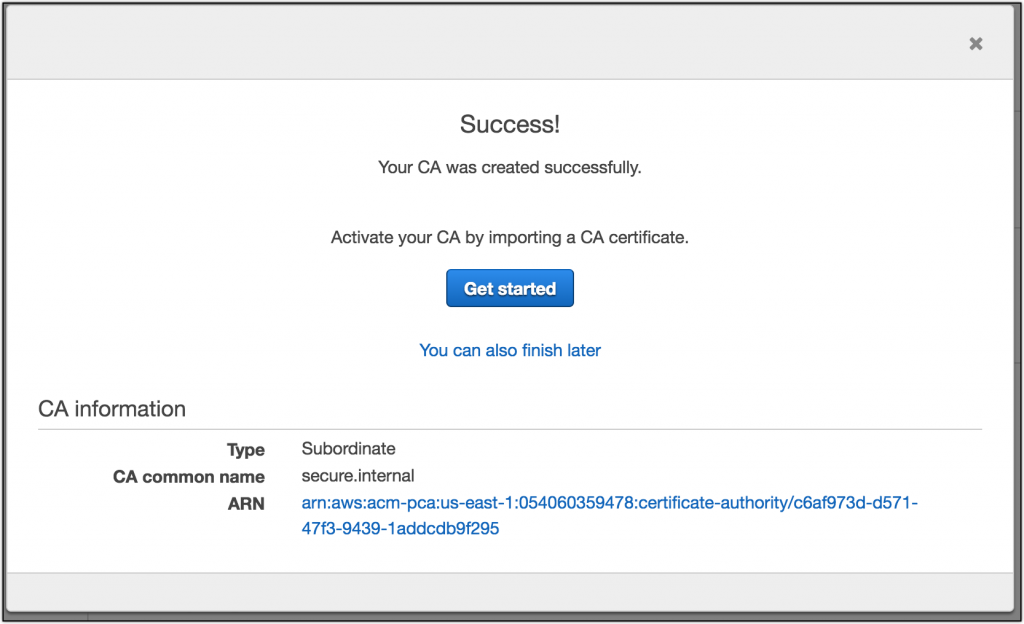
A few seconds later and I’m greeted with a fancy screen saying I successfully provisioned a certificate authority. Hooray! I’m not done yet though. I still need to activate my CA by creating a certificate signing request (CSR) and signing that with my root CA. I’ll click Get started to begin that process.
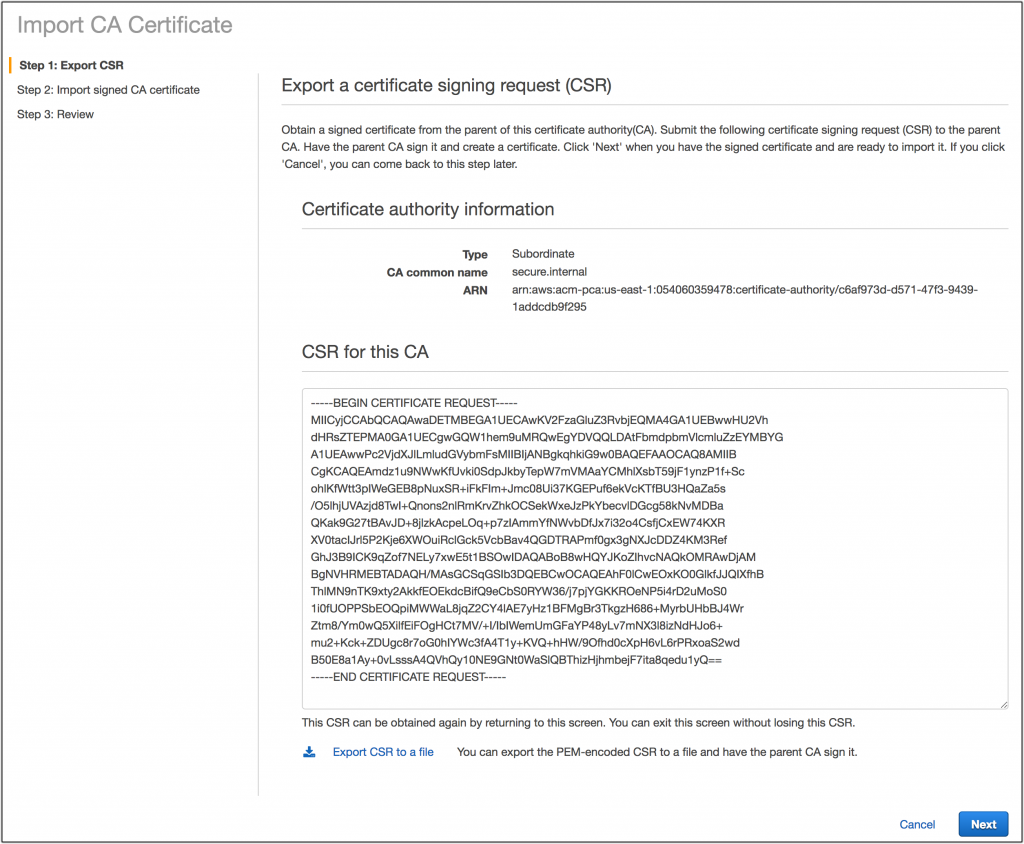
Now I’ll copy the CSR or download it to a server or desktop that has access to my root CA (or potentially another subordinate – so long as it chains to a trusted root for my clients).
Now I can use a tool like to OpenSSL sign my cert and generate the certificate chain.
$openssl ca -config openssl_root.cnf -extensions v3_intermediate_ca -days 3650 -notext -md sha256 -in csr/CSR.pem -out certs/subordinate_cert.pem
Using configuration from openssl_root.cnf
Enter pass phrase for /Users/randhunt/dev/amzn/ca/private/root_private_key.pem:
Check that the request matches the signature
Signature ok
The Subject's Distinguished Name is as follows
stateOrProvinceName   :ASN.1 12:'Washington'
localityName          :ASN.1 12:'Seattle'
organizationName      :ASN.1 12:'Amazon'
organizationalUnitName:ASN.1 12:'Engineering'
commonName            :ASN.1 12:'secure.internal'
Certificate is to be certified until Mar 31 06:05:30 2028 GMT (3650 days)
Sign the certificate? [y/n]:y


1 out of 1 certificate requests certified, commit? [y/n]y
Write out database with 1 new entries
Data Base Updated
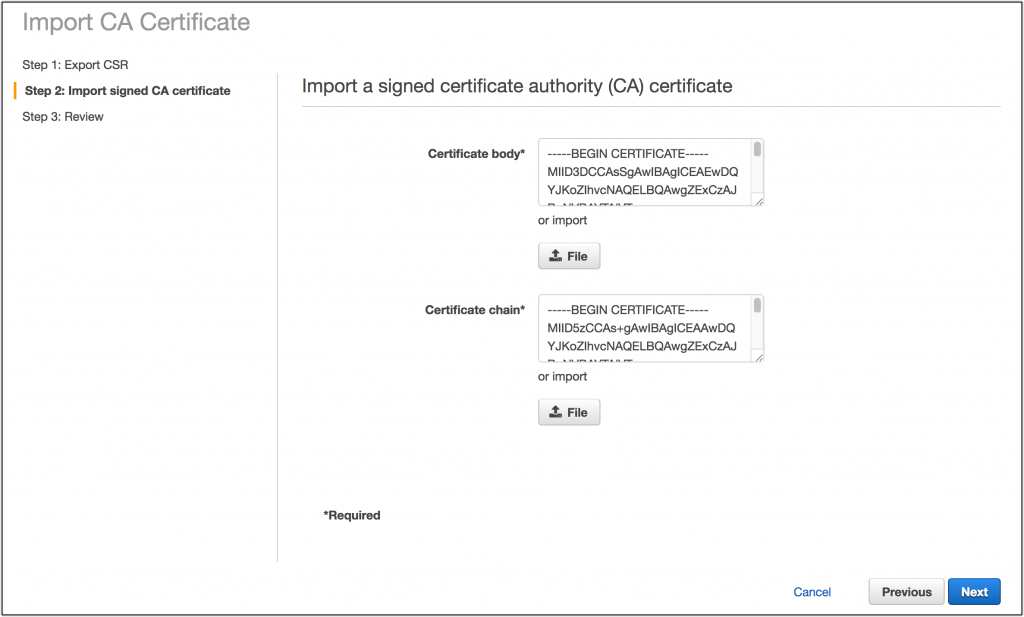
After that, I’ll copy my subordinate_cert.pem and certificate chain back into the console. and click Next.
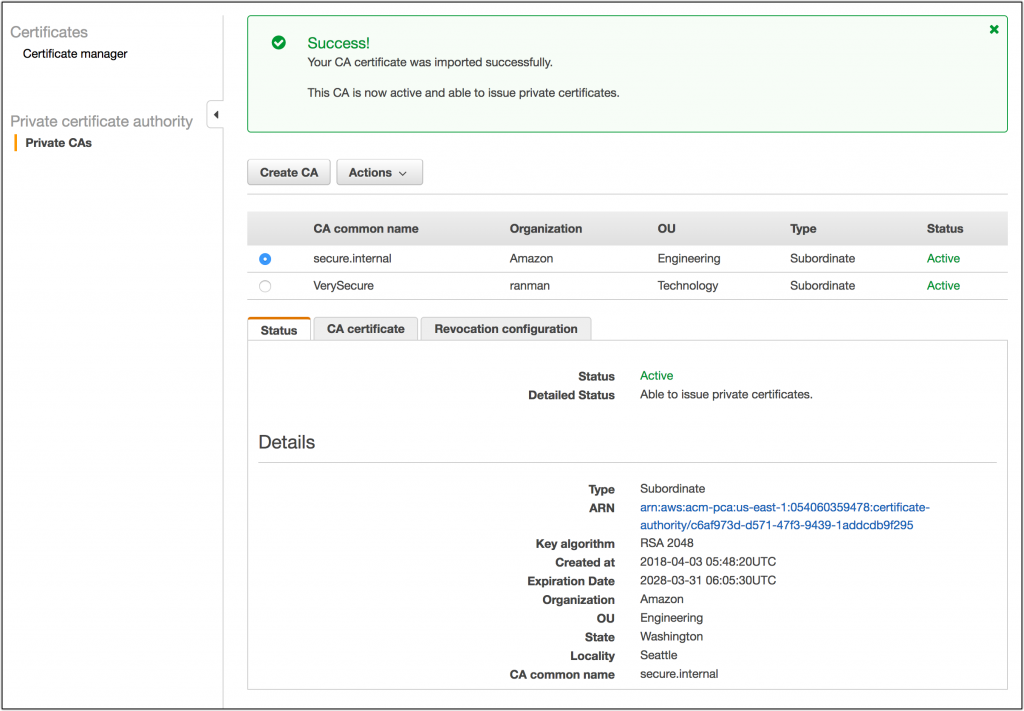
Finally, I’ll review all the information and click Confirm and import. I should see a screen like the one below that shows my CA has been activated successfully.
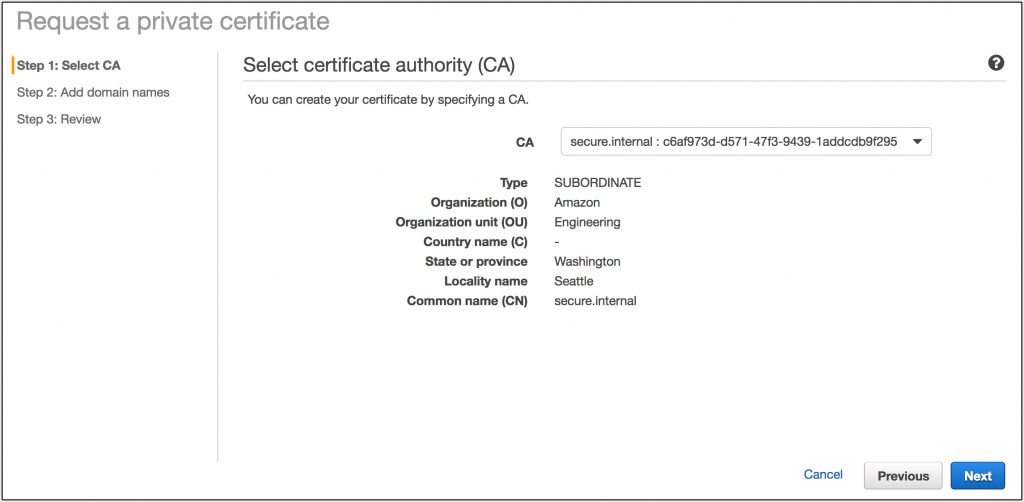
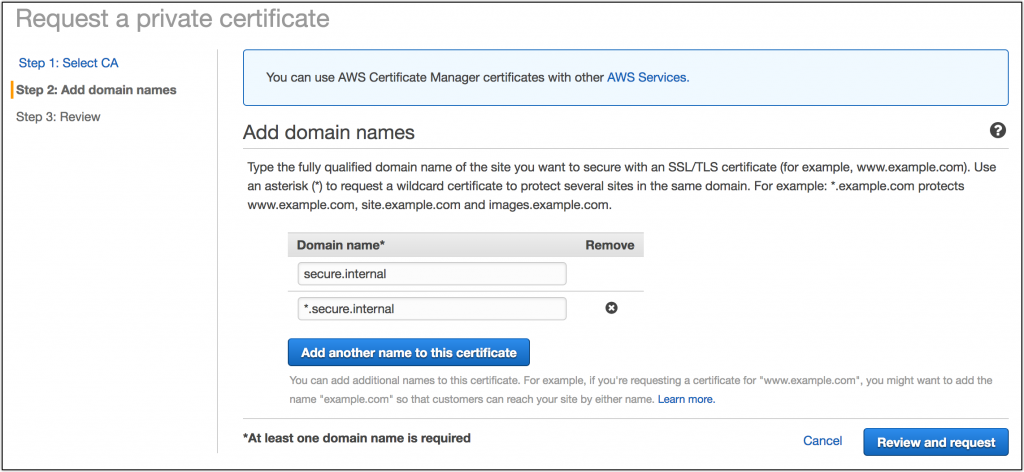
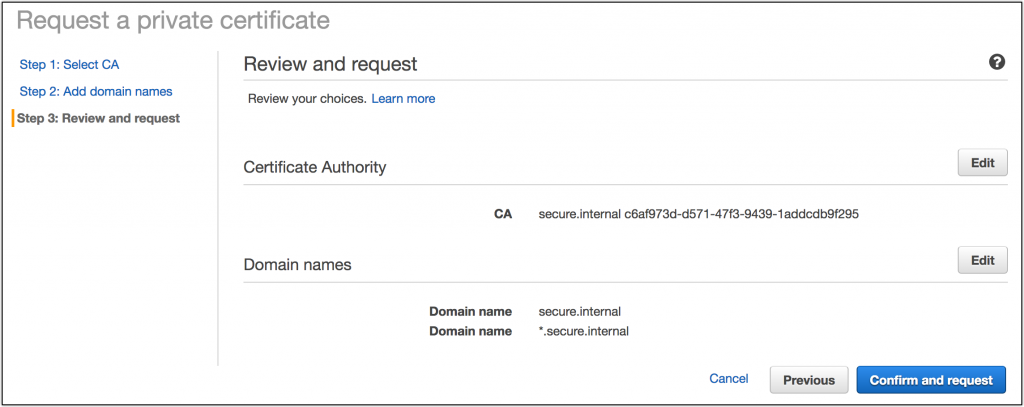
Now that I have a private CA we can provide private certificates by hopping back to the ACM console and creating a new certificate. After clicking create a new certificate I’ll select the radio button Request a private certificate then I’ll click Request a certificate.
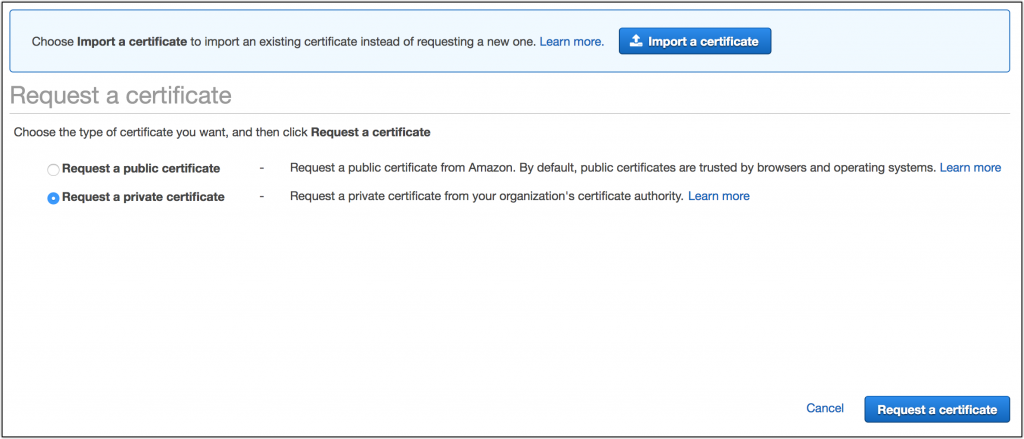
From there it’s just similar to provisioning a normal certificate in ACM.
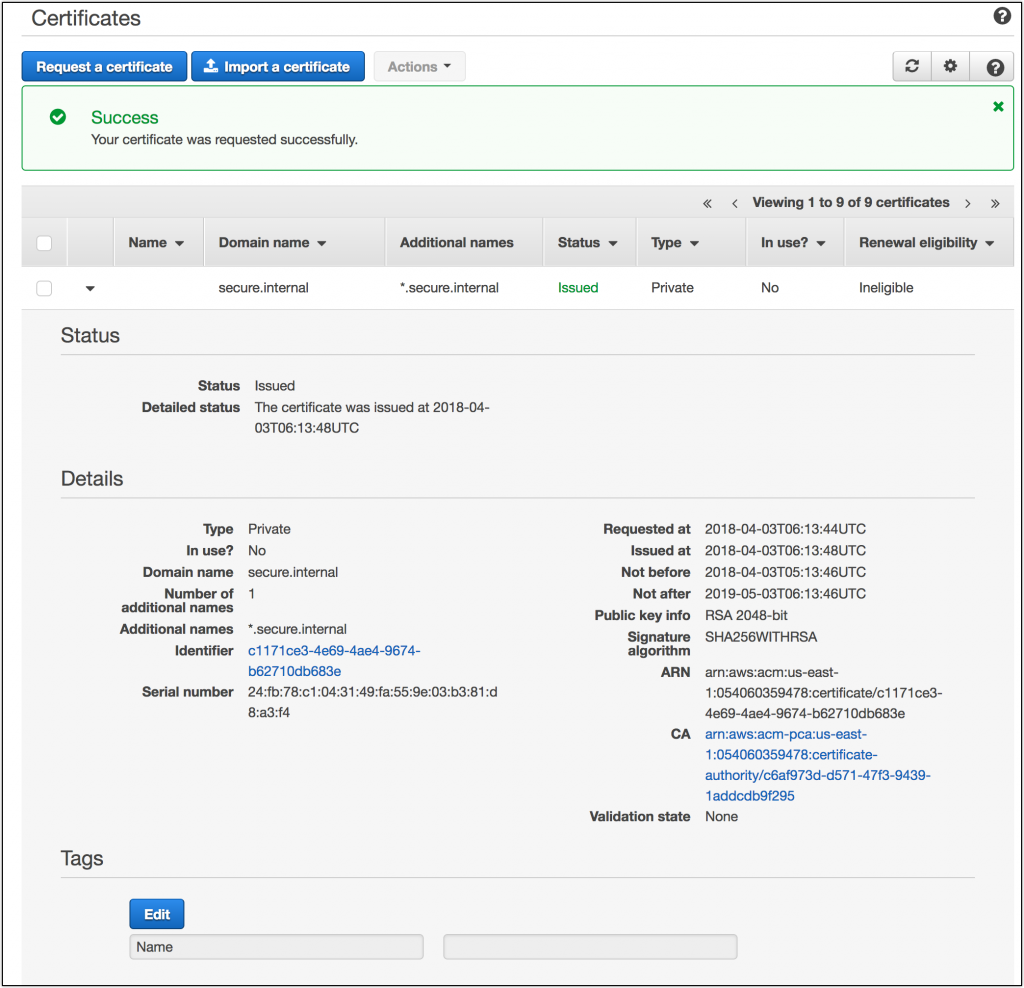
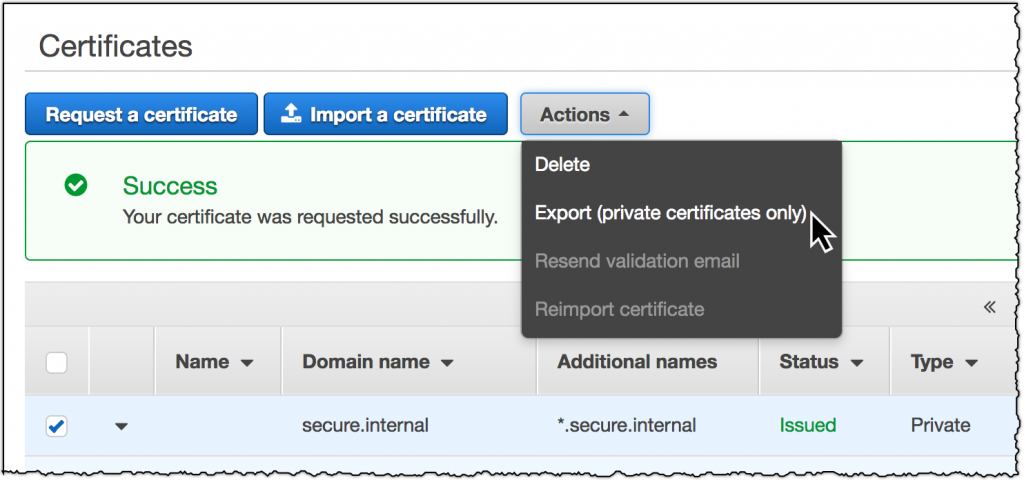
Now I have a private certificate that I can bind to my ELBs, CloudFront Distributions, API Gateways, and more. I can also export the certificate for use on embedded devices or outside of ACM managed environments.
Altf9 Technology Solutions Pvt.Ltd
5/181, J4A Third Floor
Periyar Street, Medavakkam
Chennai, India
Pincode:600100.
INDIA: +91 8056005901
USA: +1 (845) 576-5295
Australia : +61291880753
info@altf9.in


Comments
Post a Comment